Key takeaways
- Always test the panel and sensors before any contact with adhesive.
- Remove all residue from the frame with isopropyl alcohol to ensure a perfect fit.
- Apply a thin layer of B7000 or T7000 to both surfaces and keep the glue away from the COF.
- Allow 3 to 4 minutes for evaporation, 1 hour of clamping, and 2 to 4 hours of curing time.
01 Pre-installation
Bench testing and frame cleaning
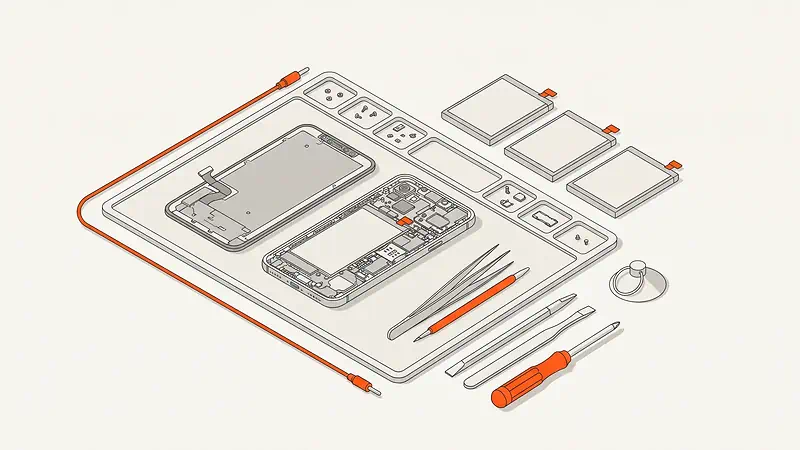
Before applying any adhesive, connect the screen to the mainboard to test touch responsiveness across the entire grid, brightness, color fidelity, and biometric sensors. A factory-defective screen loses its professional warranty as soon as it comes into contact with glue, because it becomes impossible to differentiate a prior fault from damage caused by solvents or mechanical pressure.
Mechanical adhesion fails if factory adhesive residue remains in the chassis channel. Use isopropyl alcohol to soften the old tape and clean the corners with a plastic spudger to ensure the new panel seats without unevenness or glass tension points.
- Test digitizer and image before gluing
- Remove all old glue from the chassis
- Degrease surfaces with isopropyl alcohol
- Verify the absence of warps or dents in the frame
02 Application
Contact technique and COF flex protection
The Adesivo Cola B7000 15ML Transparente Profissional and Adesivo Cola T7000 15ML Preta Profissional are contact glues and require a thin, homogeneous line applied to both surfaces: on the device frame and on the edge of the screen itself.
03 Drying and curing
Managing clamping and stabilization times
Strictly following bench times determines whether the assembly lasts for years or returns to the lab unglued after a few days of use.
-
Initial aeration (3 to 4 minutes)
-
Continuous pressure (1 hour)
-
Full cure (2 to 4 hours)
04 Lab
Common mistakes we see arriving at the lab
Most returns and complaints about screens peeling off or stopping work stem from preventable operational failures during the gluing process.
- Excess product applied
- Insufficient edge cleaning
- Glue spilled on the COF circuit
- Premature joining of parts
- Quick release without cure time
05 Visual inspection
Positioning and perimeter check
During the placement of pressure clamps, you must inspect the entire perimeter with a bench magnifier to confirm that no unwanted spills occurred into active zones.
06 FAQ
Frequently asked questions
What is the main difference between B7000 and T7000 glue?
B7000 is transparent, recommended for white frames or equipment where the glue cannot be visible, while T7000 is black, used for dark frames and preventing backlight light leaks.
Why shouldn't the screen be glued without prior testing?
Once glued, it becomes impossible to determine if a malfunction was a manufacturing defect or caused by clamp pressure and chemical solvents, voiding the professional warranty.
What happens if glue comes into contact with the COF flex?
The chemical components of the glue degrade the microscopic traces of the COF flex, causing severe digitizer failures, ghost touches, or vertical lines in the image.
Equip your bench with professional material
Acquire B7000, T7000 glues and cleaning consumables at Micro Wire or send your equipment to our lab in Praia de Mira.