
iPhone SE 2020 Screen Replacement: Your Ultimate DIY Step-by-Step Guide

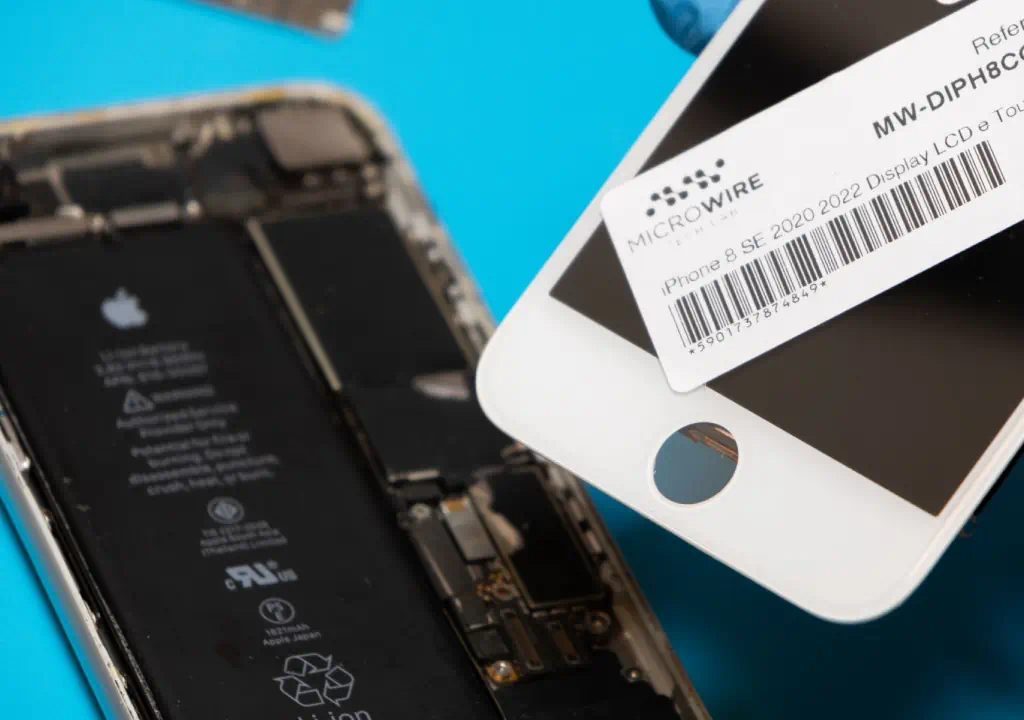
Repair, Don't Replace: The iPhone SE 2020 Screen
A cracked screen on your iPhone SE 2020 doesn't have to mean an expensive new phone. At Micro Wire, we champion the circular economy, and a DIY repair is the perfect way to extend your device's life, save money, and reduce electronic waste. This guide will walk you through every step of the screen replacement process, empowering you to make a sustainable choice. With the right tools and a little patience, you can have your iPhone looking brand new.
Important: Before You Begin
This repair requires precision and care. Proceed at your own risk. Disconnecting the battery before working on internal components is crucial to prevent short circuits. Also, be aware that opening your device may void its manufacturer's warranty. We recommend backing up your data before starting.
Tools and Parts Needed
Having the right equipment is half the battle. You can find all these high-quality components and toolkits in our Micro Wire store.
iPhone SE (2020) Screen
Choose a high-quality replacement screen assembly to ensure perfect color and touch response.
Repair Toolkit
Essential tools include a Pentalobe P2 screwdriver, a Tri-Point Y000 screwdriver, spudgers, tweezers, and a suction cup.
Heat Source
An iOpener or a simple hair dryer to soften the adhesive that holds the screen in place.
Step-by-Step Replacement Guide
Step 1: Power Off and Open the iPhone
First, power off your device completely. Then, remove the two Pentalobe P2 screws located on either side of the Lightning port. Gently heat the bottom edge of the screen to soften the adhesive.
Step 2: Lift the Screen Assembly
Apply a suction cup to the lower part of the screen. Pull up gently to create a small gap. Insert an opening pick into the gap and slide it along the edges to separate the screen from the body. Open it like a book from left to right.
Step 3: Disconnect the Battery
Safety first! Remove the screws securing the battery connector bracket. Use a spudger to carefully pry the battery connector straight up from its socket on the logic board.
Step 4: Disconnect the Display
Remove the bracket covering the display connectors. Then, disconnect the two display cables and the front sensor assembly cable using a spudger. The screen is now free.
Step 5: Transfer Components to the New Screen
This is a critical step. You need to transfer the Home Button/Touch ID sensor and the front camera/earpiece speaker assembly from your old screen to the new one. Be extremely careful with the fragile ribbon cables. Note: If the Home Button is damaged, Touch ID functionality will be lost permanently.
Step 6: Connect and Test the New Screen
Connect the cables from the new screen to the logic board, then reconnect the battery. Power on the iPhone and test the touch functionality, display, and camera before sealing it. If anything is wrong, double-check all connections.
Step 7: Seal the Device
Once everything works, power off the phone and disconnect the battery again. Secure the connector brackets. Align the top of the screen into the frame and gently press it down until it clicks into place. Reinstall the two Pentalobe screws at the bottom.
Congratulations!
You have successfully replaced your iPhone SE 2020 screen! You've not only saved money but also made a positive impact on the environment. For more guides and high-quality parts, explore Micro Wire.